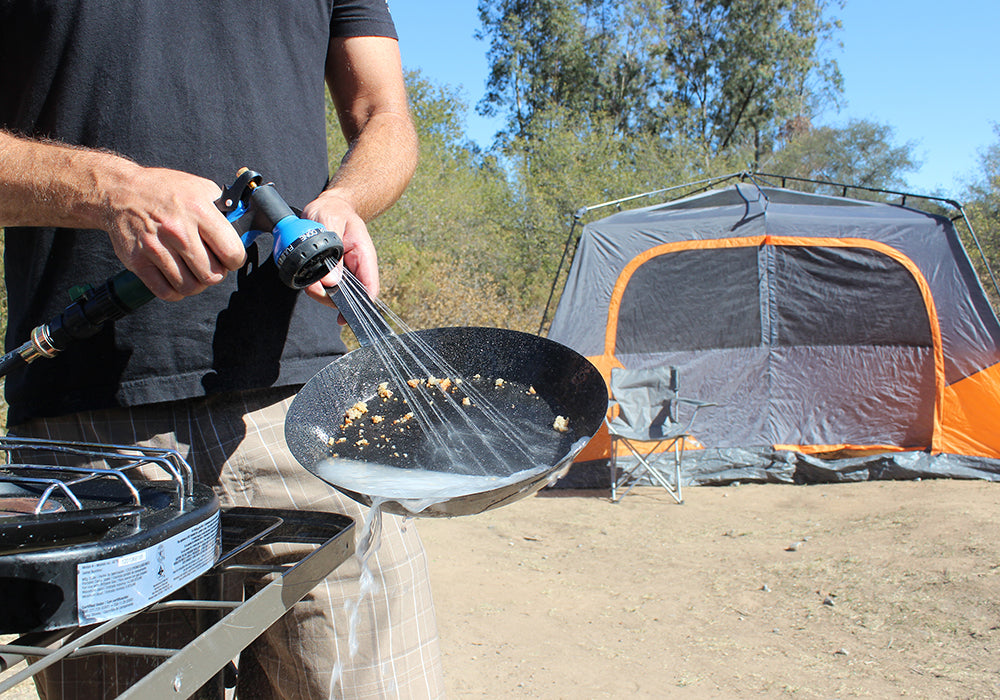
Over the years we have had several RinseKits. Usually one of the kids or a friend ends up taking ours and we’re left to get a new one. The portable shower is an incredible invention. We have used ours to rinse off after surfing, clean sand off the grandgroms, wash the dogs paws off after a trail hike, cleaned mud off the back of our jeep, washed off fishing gear, rinsed off RV chairs and rinsed off cooking tools at the campsite. We’ve even used it as a full shower with one of our DryRacks, in the back of our sprinter, when we ended up boondocking for the night.
There are many cheap alternatives to the RinseKit on Amazon and a slew of social media kooks will share all their DIY inventions, but none work as well as the RinseKit. Others like RoadShower4, Nemo, WaterPORT are also great but not as versatile. But with any new product RinseKit has had problems. Mainly product quality, but their new products are great and they are replacing old faulty products. If you have one that doesn’t work, just go hear and they will get you a new one http://rinsekit.com/warranty.
Before I started writing this blog, I looked at comments about the RinseKit product on social media and in many reviews. Other than the product issues that need warranty, most of the issues are around how to use the product and how to maintain pressure.
We’re going to share the right way to use the RinseKit portable showers and a secret that every user needs to know in order to get maximum utility:
1) Attached the round hose bib adapter to a garden faucet or to an indoor faucet.
2) Disconnect the nozzle head from the quick-disconnect coupling on the RinseKit hose.
3) Push the quick-disconnect onto the male end of the hose bib adapter.
4) Turn the water on
5) Turn the on/off valve to open, on the RinseKit hose, below the quick-disconnect coupling
6) Listen to the water rushing into the RinseKit, you may even hear a slight whistle. Keep the water on for about 30 seconds after you don’t hear any more water running. This is when the tank is equalizing pressure with the house.
7) MOST IMPORTANT TIP: Turn the on/off value on the hose below the quick-disconnect off FIRST, then the faucet. This keep the pressure trapped inside the RinseKit. The value is circled below.
(majority of user complaints are because they turn the faucet off first, instead of the on/off valve, and allow the pressure to escape from the RinseKit)
8) Disconnect the quick-disconnect from the hose bib adapter and re-attach the nozzle.
It is that easy, but step 7 is critical. If you reverse this process your RinseKit will not work properly and you’ll be disappointed.

We also saw a slew of questions about how long the shower will last. Unfortunately, there is no single answer. It depends on three things:
• Amount of water
• Pressure
• Nozzle Setting
RinseKits hold from 1.75 to 3 gallons, depending upon the model. Pressure, if done as we described, is the same across all units. It should be 45-60 PSI depending upon your home pressure. If you use the Jet setting and push the nozzle to full, you’ll get about 1 minute of water. If you put it on mist and push nozzle half way, you can get over 4 minutes of water.
But let’s give a real-life example. I use the RinseKit POD and it holds 1.75 gallons and I pressurize it from my home, per above instructions, and my house has 45psi. With the POD, full and pressurized, it rinses myself and my wetsuit off after surfing. I use the nozzle on Shower and pushed about ½ down. I rinse head, front, back and feet, then I get out of wetsuit (long/long XLT) and rinse it inside and out and then hang the wetsuit on the DryRack on the back of the van for drying on my way home. The POD has enough water to do this and I have about what feels like a 1/3 gallon left. When I get home, I refill and I’m ready for the next day.
Everyone’s use will be different. If you have a big family and want to do a lot, then get the biggest one. If it’s just you and your dog, the smallest will probably be fine.
I hope this blog has helped you understand how a pressurized shower like RinseKit works and the TRICK to keeping it pressurized. I’ve also included some FAQs below to questions I have seen. If we can answer one of yours, just leave it in comments or get us @malooracks on social media.
FAQ
1) RinseKits are pressurized by filling the internal tank from a pressurized source like city water at a home or lodge.
2) Do not fill the RinseKit from a garden hose attached to the house. Attach the hose bib directly to the garden or house faucet. Pressure can be lost through the hose connections.
3) When filling the RinseKit from tanks or a non-pressurized water source, you need the Pressure Booster Pump accessory in order to pressurize the RinseKit.
4) If you are using the Hot Rod Water Heater, make sure it is installed in the RinseKit before filling it. If you add after, you’ll lose all the pressure.
5) You can fill the RinseKit with hot water through the Hot Water Sink Adapter, and depending upon the outside temperature, you’ll still get a hot/warm shower after a couple of hours. Enough for a good surf session.